Bonded Rubber: The Look of Mulch, The Permanence of Rubber
Bonded Rubber
Key Benefits of Bonded Rubber
- ⛑️ Superior Safety
- 🧹 Minimal Maintenance
- 💪 Exceptional Durability
- ♿ Fully Accessible Surface
- 💧 Excellent Drainage
- 🌳 Natural, Fixed Appearance
- ♻️ Eco-Friendly Choice
Bonded Rubber Calculator
| Property | Value |
|---|---|
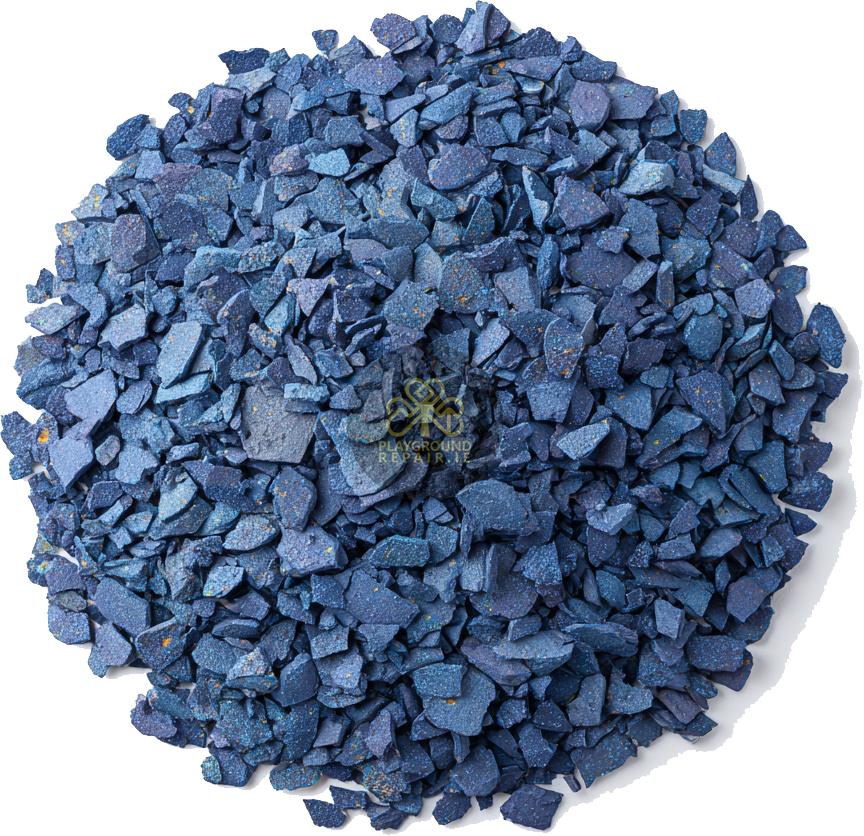
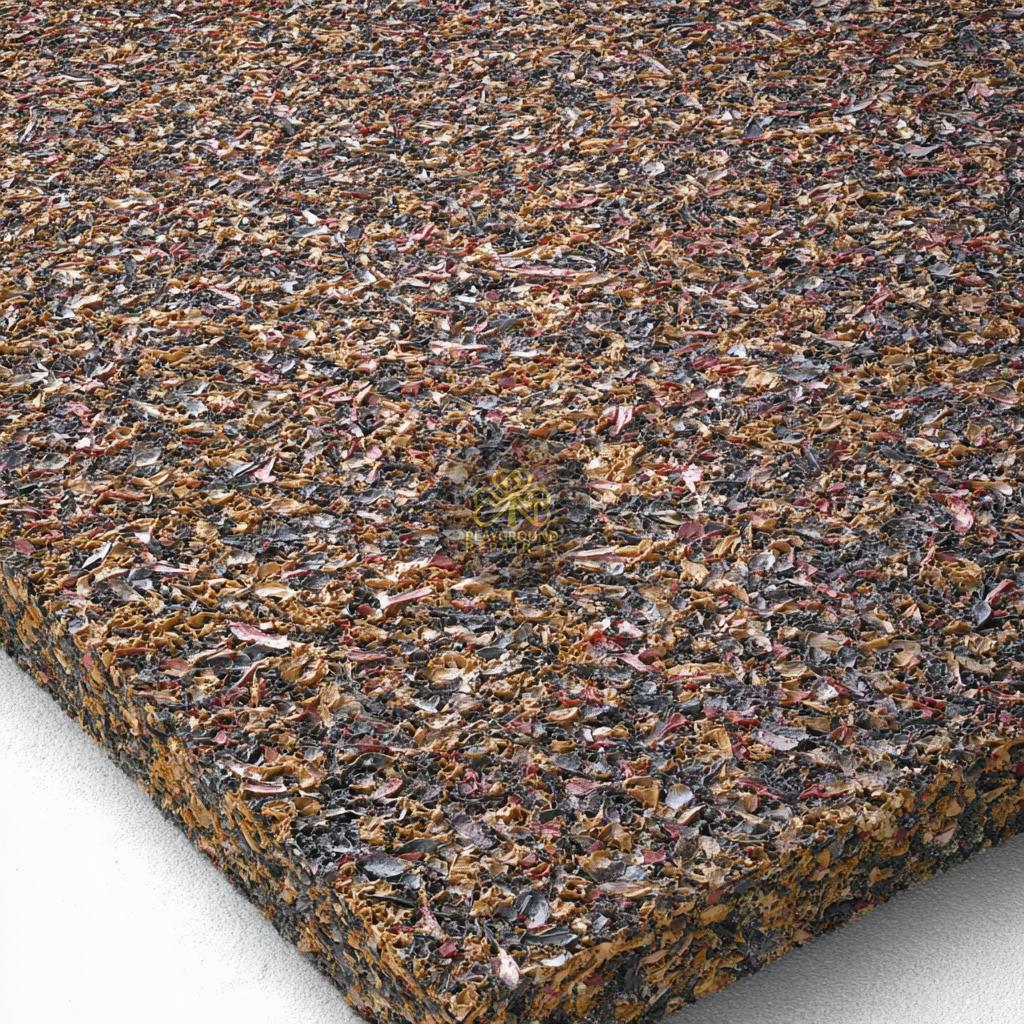
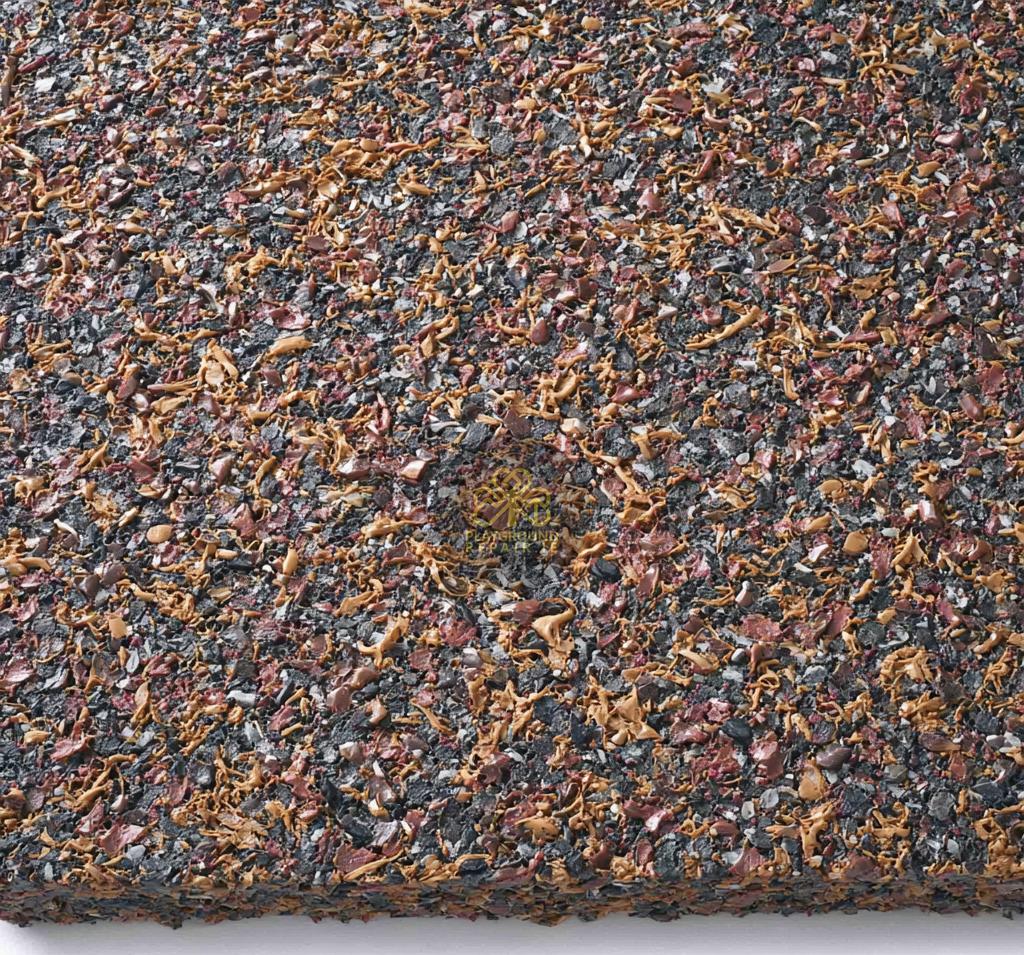
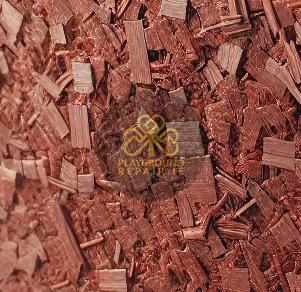
| Primary Material | 100% Recycled SBR (Styrene-Butadiene Rubber) Tyre Shreds |
| Binder | Moisture-Cured Polyurethane (PU) Aromatic Binder |
| System Type | Single Layer, Site-Mixed, Trowel-Applied System |
| Standard Thickness | 40mm - 150mm (Dependent on fall height requirements) |
| Porosity | Fully Permeable Surface |
| Base Requirement | Compacted hardcore (MOT Type 1 stone) or solid base (Concrete/Tarmac) |
| Cure Time | Approximately 24 hours for pedestrian traffic |
| Available Colours | Acorn Brown, Mahogany Red, Forest Green, Black (Blends available) |
| Safety Certification | Tested and compliant with BS EN 1177 standards |
| Toxin Certification | Certified to BS EN 71-3 (Non-Toxic) |
Installing Bonded Rubber surfacing is an achievable project that creates a durable, low-maintenance, and safe playground surface. Careful preparation and following these steps are key to a professional, long-lasting installation.
Before You Begin: Tools and Materials
Tools:
- Spade & Shovel
- Wheelbarrow
- Rake
- Tape Measure
- Spirit Level
- Vibrating Plate Compactor (Wacker Plate) - essential for the sub-base
- Forced-Action Mixer - essential for proper mixing
- Steel Float Trowel
- Bucket (for release agent)
- Protective Gloves & Safety Glasses
- Craft Knife (to open bags)
Materials:
- Playground Repair Ltd. Bonded Rubber Shreds
- Playground Repair Ltd. Polyurethane Binder
- Sub-base: Compacted crushed stone / MOT Type 1 (min. 100mm depth)
- Edging Material: Timber, concrete kerbing, or steel edging to create a solid frame
- Duct Tape (to protect edging during trowelling)
- Trowel Release Agent (e.g., white spirit)
Step 1: Ground Preparation & Edging
A solid foundation and a firm perimeter are the most critical parts of a bonded rubber installation. This ensures stability and containment of the surface.
- Clear the Area: Remove all grass, weeds, roots, and large stones from the installation area.
- Excavate: Dig out the area to the required depth. This should be the depth of your chosen edging, which allows for a minimum of 100mm of sub-base material plus the depth of your bonded rubber (e.g., 40mm).
- Install Edging: Securely install a permanent, solid edging around the entire perimeter of the area. This frame is essential for holding the rubber mix in place and providing a clean, finished edge. Ensure the top of the edging is at the desired final height of the surface.
- Compact the Soil: Use the plate compactor to compact the soil at the bottom of the excavated area to create a firm foundation for the sub-base.
Step 2: Installing the Sub-Base
The sub-base provides the structural stability and drainage for the entire surface.
- Lay Sub-Base Material: Fill the excavated area with a minimum of 100mm of crushed stone (MOT Type 1). Spread it evenly with a rake. The top of this layer should be below the top of your edging by the thickness of your rubber (e.g., 40mm).
- Compact Thoroughly: Using the vibrating plate compactor, compact the crushed stone until it is solid and completely level. This may require several passes. A solid, unmoving sub-base is crucial for a successful installation.
Step 3: Mixing the Bonded Rubber
This is the most time-sensitive and important stage. Only mix one batch at a time and have everything ready to lay immediately.
- Prepare for Mixing: Put on your protective gloves and glasses. Have your wheelbarrow, trowel, and release agent ready. Cover the top edge of your new perimeter with duct tape to protect it from binder stains.
- Add Rubber to Mixer: Empty one full bag of our Bonded Rubber shreds into the forced-action mixer. Do NOT use a standard cement mixer, as it will not coat the rubber correctly.
- Add Binder: Start the mixer, and then immediately begin pouring the pre-measured Polyurethane Binder over the rubber. Pour slowly and evenly to ensure all shreds are coated.
- Mix Thoroughly: Allow the machine to mix for 2-4 minutes, or until every shred of rubber has a uniform, glossy coating. Do not over-mix.
Step 4: Trowelling the Surface
Work efficiently to pour, spread, and smooth the rubber before it begins to cure, ensuring a seamless finish.
- Pour the Mix: Immediately empty the mixed batch from the mixer into a wheelbarrow and transport it to the installation area. Pour the mix into the prepared base, starting at a corner furthest from your exit point.
- Spread the Mix: Use the back of a rake or your trowel to evenly spread the mixture out to the required depth across the sub-base.
- Trowel Smooth: Using your steel float trowel, begin to flatten and compact the mixture. Apply firm, downward pressure to compress the rubber to the correct thickness against your edging.
- Keep the Trowel Clean: Frequently wipe your trowel with a cloth lightly dampened with the release agent. This is VITAL to prevent the trowel from sticking to the binder, ensuring a smooth, flat finish.
- Maintain a Wet Edge: As you mix and lay subsequent batches, make sure you pour and trowel them against the previous batch while it is still wet. This fuses the batches together and prevents visible seam lines.
Step 5: Curing
The final step is to allow the surface to fully cure and harden.
- Protect the Area: The surface will be tacky after installation. Cordon off the area completely to prevent anyone, including pets, from walking on it.
- Allow to Cure: The surface requires approximately 24 hours to become tack-free and safe for light foot traffic. Full chemical curing can take up to 7 days. Avoid placing heavy objects like garden furniture on the surface during this time.
- Final Inspection: After 24 hours, you can remove the protective duct tape from the edging. Your new bonded rubber surface is complete and ready for use!
Customer Reviews
☆
☆
☆
☆
☆
0 reviews
Write a Review
You May Also Like View All